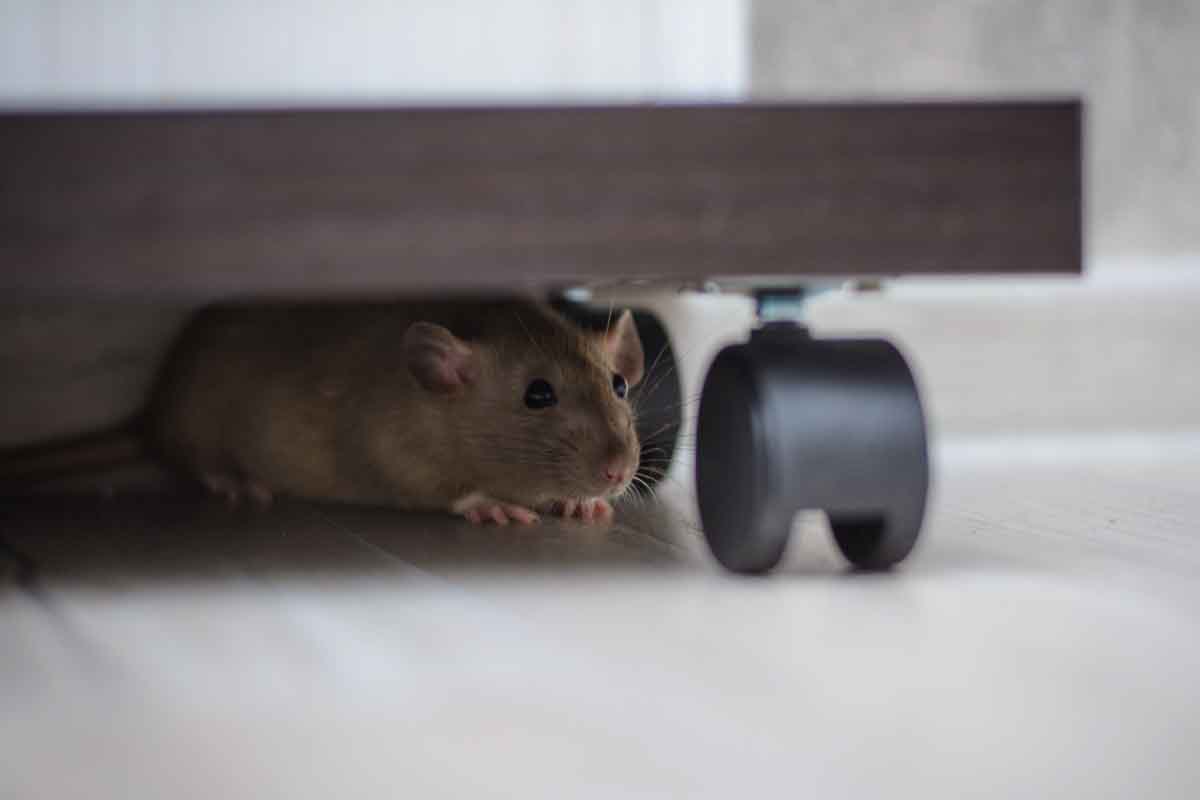
Are mice invading your home and causing chaos? Fear not, because a simple and effective solution is at your fingertips with a homemade bucket mouse trap step-by-step approach. This DIY method is not only cost-effective but also easy to assemble, making it an ideal choice for anyone looking to tackle their rodent problem without resorting to harmful chemicals or expensive exterminators.
In this comprehensive guide, we'll walk you through each stage of creating your very own bucket mouse trap. By the end of this article, you'll be well-equipped to construct a trap that is both humane and efficient, allowing you to reclaim your home from unwanted rodent guests.
Why Choose a Homemade Bucket Mouse Trap?
Before diving into the step-by-step instructions, let's explore why a homemade bucket mouse trap is an excellent choice for dealing with mice. Traditional traps can be lethal and pose risks to children and pets, while hiring exterminators can be costly. A bucket mouse trap, on the other hand, is a safe, non-toxic alternative that can be easily set up using materials you likely already have at home.
Furthermore, this trap is reusable, environmentally friendly, and humane, as it captures mice alive, allowing you to release them safely away from your home. If you're curious about other humane pest control options, you can learn more about them here.
Materials Needed for Your Bucket Mouse Trap
To create your own homemade bucket mouse trap, you'll need the following materials:
- A 5-gallon bucket
- A wooden dowel or wire coat hanger
- Peanut butter
- An empty soda can
- A sturdy plank or piece of wood
- A drill (for making holes)
- Optional: a small amount of vegetable oil
All of these materials are easily accessible and affordable, making this trap a viable option for anyone. If you're interested in other DIY pest control solutions, check out this article for more ideas.
Step-by-Step Instructions for Building Your Trap
Step 1: Prepare the Bucket
Begin by cleaning the 5-gallon bucket to ensure it's free of any debris or odors that might deter mice. This is crucial because mice have a keen sense of smell and may avoid the trap if it carries any unfamiliar scents.
Step 2: Create the Rotating Mechanism
Next, take your empty soda can and drill a hole through the center of the top and bottom. Thread the wooden dowel or wire coat hanger through the can, ensuring it can rotate freely. This mechanism is vital as it will serve as the bait holder and trigger for the trap.
Step 3: Assemble the Trap
Position the dowel with the soda can across the top of the bucket, securing it in place. Ensure that the can is centered and can spin when a mouse attempts to reach the bait. Apply a generous amount of peanut butter to the center of the can, as this will entice the mice to climb onto the can in pursuit of the treat.
Step 4: Set the Plank
Place the sturdy plank or piece of wood against the bucket, creating a ramp for the mice to access the top. Make sure the plank is stable and can support the weight of a mouse without slipping.
Using and Maintaining Your Trap
Once your trap is assembled, place it in an area where you've noticed mouse activity, such as near baseboards, in the pantry, or in the garage. The natural curiosity and hunger of the mice will lead them up the ramp and onto the can. As they attempt to reach the peanut butter, the can will rotate, causing them to fall into the bucket below.
For enhanced effectiveness, consider adding a small amount of vegetable oil to the inside of the bucket. This will make it more difficult for the captured mice to escape. Regularly check your trap and release any captured mice at least a mile away from your home to prevent them from returning.
For more insights on pest control strategies, visit our blog.
Additional Tips and Considerations
While the homemade bucket mouse trap is effective, it's important to ensure you're addressing the root of the problem. Seal any entry points that mice might be using to enter your home, such as gaps in walls, around pipes, or under doors. Keeping your living space clean and free of food debris will also help deter mice from taking up residence.
For a comprehensive approach to rodent prevention, consider using electronic deterrents alongside your bucket trap. Electronic devices can be a great addition to your pest control arsenal, as discussed in this article.
FAQ Section
What makes the bucket mouse trap humane?
The trap captures mice alive, allowing for safe relocation without harm, unlike traditional traps that often kill or injure the rodent.
How often should I check the trap?
It's best to check the trap daily to ensure the well-being of any captured mice and to maintain the trap's effectiveness.
Can I use other baits besides peanut butter?
Yes, you can experiment with different baits like cheese or seeds. However, peanut butter is highly effective due to its strong scent and sticky consistency.

Conclusion
Constructing a homemade bucket mouse trap step-by-step is a straightforward and humane method for addressing a mouse infestation. By following the instructions provided, you'll be able to effectively manage rodent issues in your home without resorting to harmful chemicals or costly professional services. Remember, a clean and sealed home is your first line of defense against unwanted pests. For more DIY pest control tips, explore this resource.