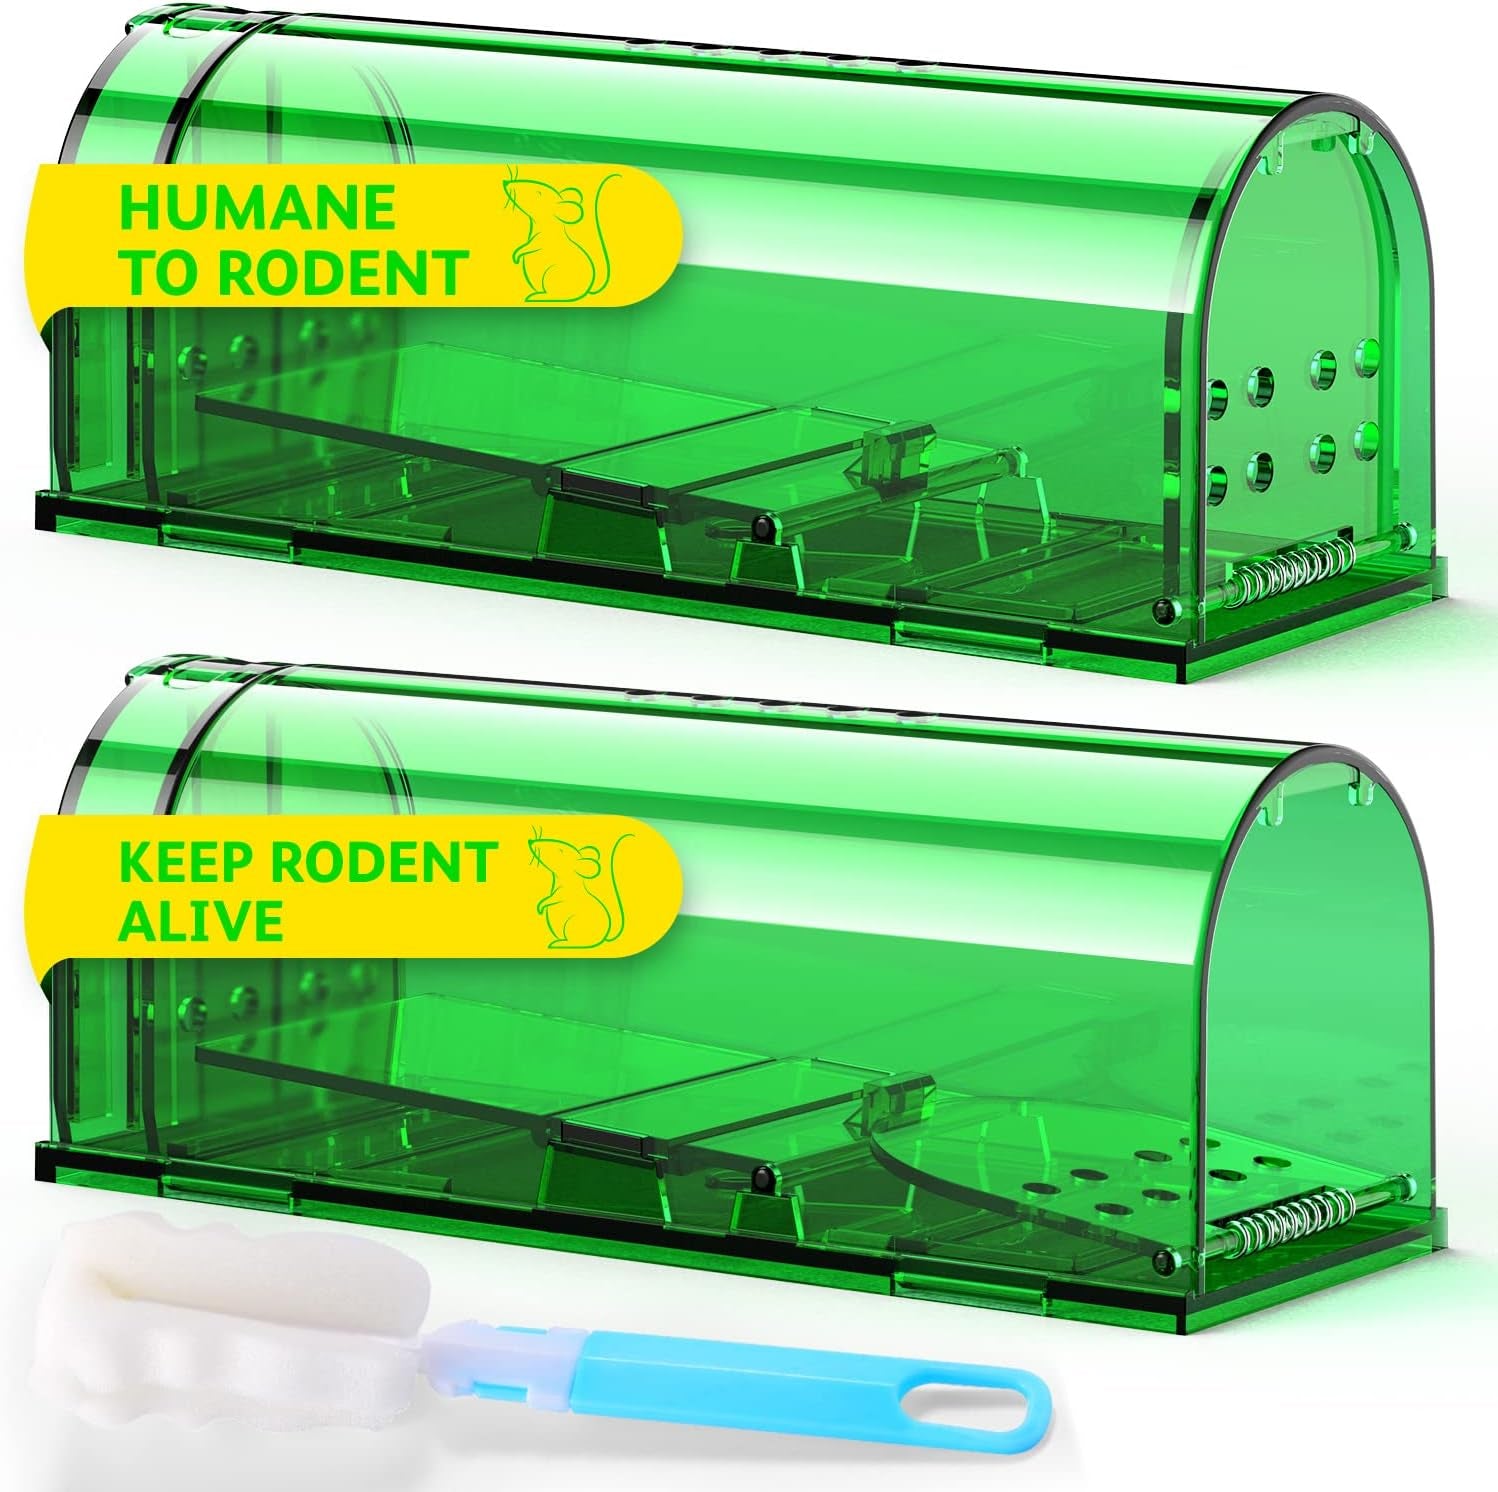
If you're struggling with a mouse problem, learning how to set a mousetrap step-by-step is essential. Setting a mousetrap might seem like a daunting task, but with the right guidance, it can be quite straightforward and effective. In this guide, we will walk you through the process, ensuring that you have a mouse-free home in no time.

Why Setting a Mousetrap is Important
Mice are not just a nuisance; they can also pose serious health risks. They carry diseases, contaminate food, and can cause significant property damage. Knowing how to set a mousetrap step-by-step is crucial for maintaining a clean and safe home environment.
For more details on the repercussions of a mouse infestation, you might find this article helpful.

Types of Mousetraps
Snap Traps
Snap traps are the most common and traditional type of mousetraps. They use a quick trigger system to catch the mouse instantly.
Glue Traps
These traps use a sticky surface to capture mice. While effective, they are often criticized for being inhumane.
Electronic Traps
Electronic traps deliver a quick, humane electric shock to the mouse, ensuring a swift death.
Live Catch Traps
These traps allow you to catch mice alive and release them elsewhere. They are ideal for those who prefer a humane approach.

Essential Tools and Materials
Before you start, make sure you have the following:
- Mousetrap of your choice
- Bait (peanut butter, cheese, or chocolate)
- Gloves
Step-by-Step Guide to Setting a Mousetrap
Step 1: Choose the Right Location
Mice tend to travel along walls and are often found in areas with food. Place your trap in these high-traffic areas for the best results.
Step 2: Prepare the Trap
Read the instructions that come with your trap. Some traps may require assembly, while others are ready to use straight out of the package.
Step 3: Bait the Trap
Apply a small amount of bait to the trap. Peanut butter is highly effective as it sticks to the trap and requires the mouse to work for it.
Step 4: Set the Trap
Carefully set the trap according to the manufacturer's instructions. Make sure to use gloves to avoid leaving your scent on the trap.
Step 5: Monitor the Trap
Check the trap regularly. This is crucial as you need to dispose of a caught mouse promptly to avoid odor and hygiene issues. For more information on what happens next, check out this guide.
What to Do After Catching a Mouse
Disposal
Once a mouse is caught, it's essential to dispose of it properly. Wear gloves and place the mouse in a plastic bag, then seal and dispose of it in an outdoor trash can.
Cleaning
Clean the trap thoroughly before reusing it. Use a disinfectant to ensure that no trace of the mouse is left behind.
Preventing Future Infestations
Seal Entry Points
Mice can enter your home through the smallest of openings. Inspect your home and seal any gaps or cracks to prevent future infestations.
Maintain Cleanliness
Keep your home clean, especially in areas where food is prepared and stored. This reduces the likelihood of attracting mice.
For more tips on preventing future infestations, you can read this article.
Conclusion
Knowing how to set a mousetrap step-by-step is an invaluable skill that can help you maintain a mouse-free home. By following these steps and tips, you'll be well on your way to solving your mouse problem efficiently and humanely.
As an Amazon Associate, I earn from qualifying purchases.
