Finding mice in your home can be unsettling. They cause damage, contaminate food, and potentially spread diseases. One of the most effective ways to deal with a mouse issue is to use a mousetrap.
In this guide, we'll walk you through how to set a mousetrap step-by-step so you can tackle your mouse problem efficiently and safely.

Understanding the Types of Mousetraps
Before diving into the step-by-step process, it's important to understand the various types of mousetraps available:
Snap Traps
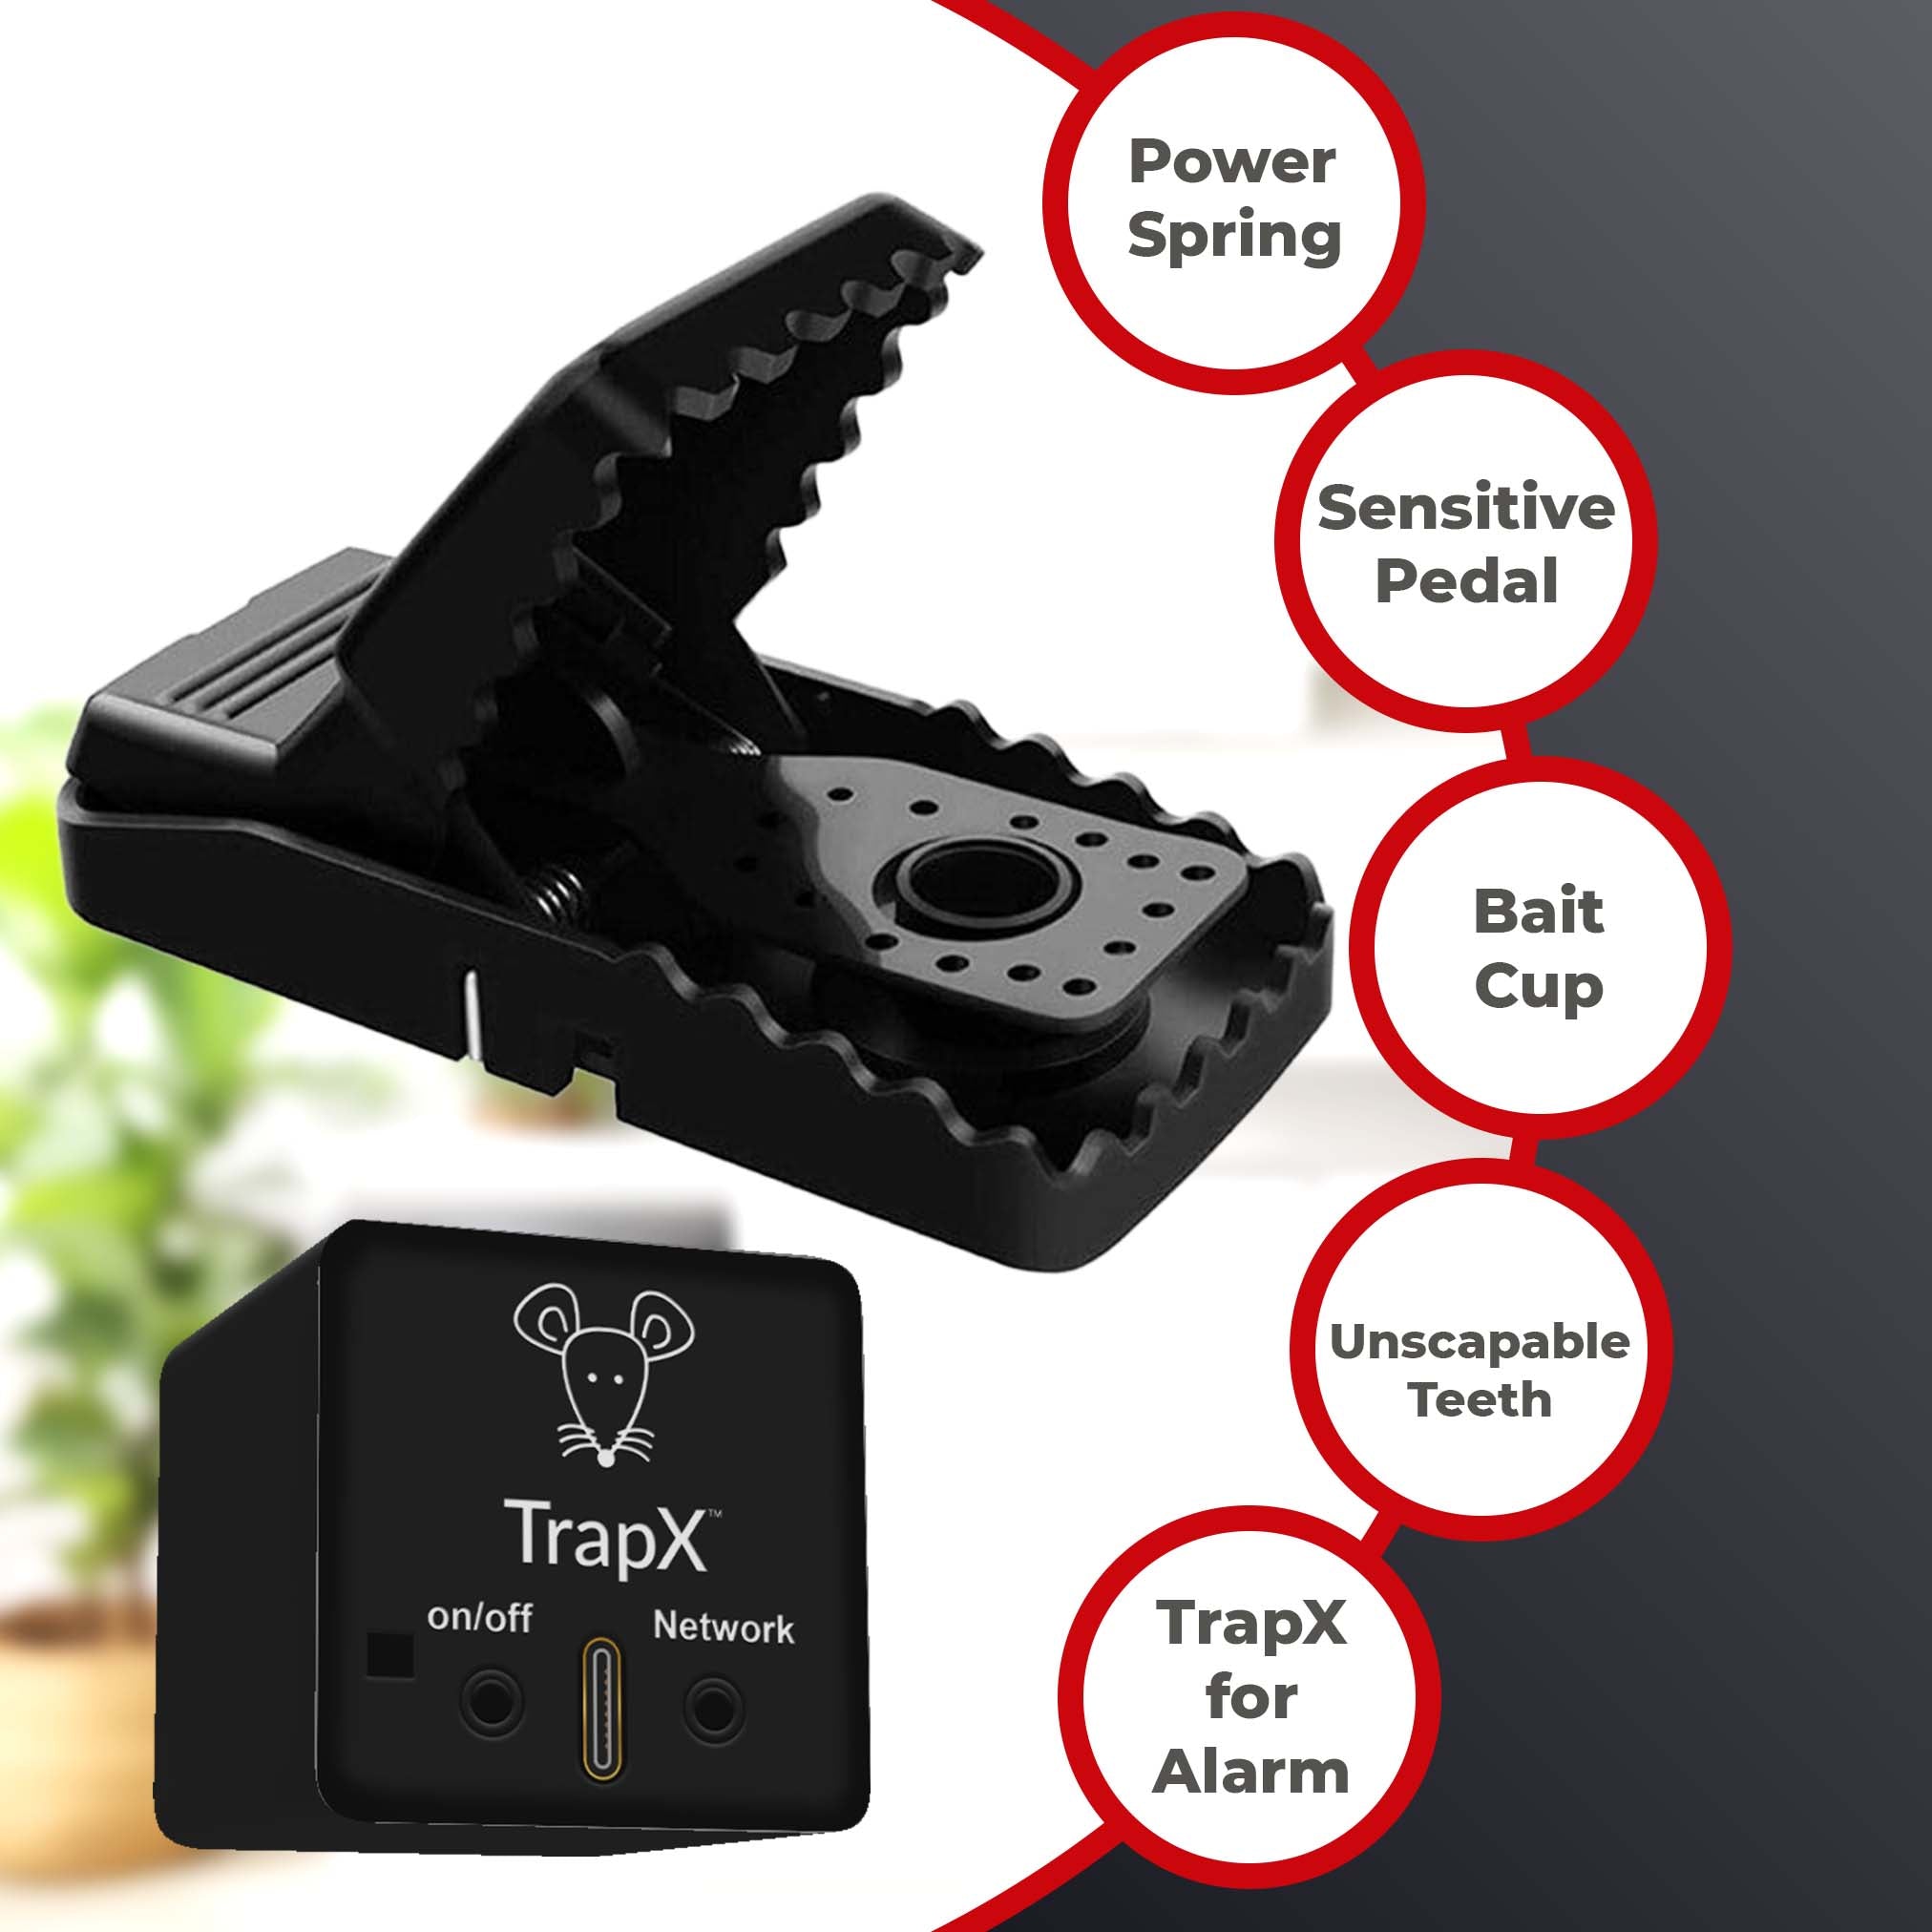
These are the most traditional traps. They use a quick trigger mechanism to snap a metal bar onto the mouse, ensuring a quick and humane kill. For more details, check out our guide on live mouse traps.
Glue Traps
These traps use a sticky adhesive to catch mice. While they are easy to use, they are often criticized for being inhumane as the mouse usually suffers until it dies.
Electric Traps
These traps electrocute the mouse upon entry. They are effective and typically quick, but they require batteries or a power source. Learn more about rodent monitoring systems from our essential guide.
Live Catch Traps
These traps allow you to catch mice alive and release them elsewhere. They are considered humane but require you to handle and release the mouse away from your home. If you're interested in a compassionate approach to pest control, read our article on humane traps.

Gathering Your Tools and Materials
To set a mousetrap, you'll need the following:
- The mousetrap of your choice
- Bait (peanut butter, cheese, chocolate, etc.)
- Protective gloves
- Disinfectant spray

Steps to Set a Mousetrap
Step 1: Choose the Right Location
Place traps in areas where you've noticed mouse activity. Common areas include along walls, under furniture, in kitchen cabinets, and near any food sources. Mice tend to travel along walls, so setting traps perpendicular to the wall can increase your chances of catching them.
Step 2: Prepare the Trap
Always wear protective gloves when handling mousetraps and bait to prevent the transfer of your scent to the trap. This makes the trap more enticing for the mouse. Carefully follow the manufacturer's instructions to prepare the trap. For snap traps, you may need to pull back the bar and secure it with the latch.
Step 3: Bait the Trap
Add a small amount of bait to the trap's designated area. Popular baits include peanut butter, cheese, and chocolate. Make sure not to use too much bait, as this can make the mouse wary. If your peanut butter trap isn't working, check out these tips and tricks.
Step 4: Set the Trap
Once baited, carefully set the trap in the chosen location. Make sure it is stable and won't be easily knocked over. For snap traps, ensure the bar is securely latched.
Step 5: Check the Trap Regularly
It's important to monitor your traps daily. A trapped mouse can quickly decompose, creating odors and health hazards. If you've caught a mouse, dispose of it promptly and reset the trap. For more details on setup, view our comprehensive guide.
Safety and Hygiene
Always handle traps and captured mice with care. Use gloves and wash your hands thoroughly afterward. Additionally, disinfect any areas where mice have been to prevent the spread of bacteria. For more hygienic practices, you can visit wikiHow on Disinfecting.
Conclusion
Dealing with a mouse problem can be daunting, but by following this how to set a mousetrap step-by-step guide, you can manage it effectively. Remember to choose the right type of trap, use appropriate bait, and place the trap in strategic locations. Regularly check the traps and maintain good hygiene to ensure your home remains mouse-free.
For more detailed pest control advice, visit PestWorld.org.
As an Amazon Associate, I earn from qualifying purchases.
